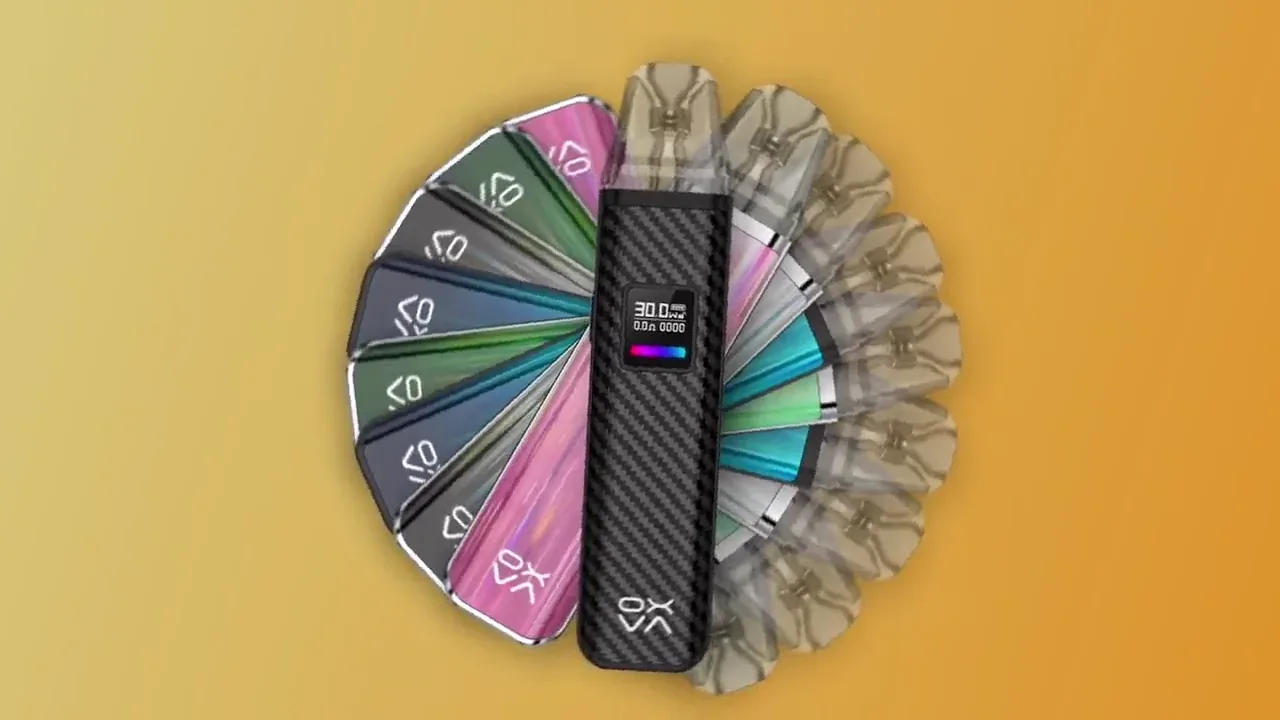
White background or real scene?
The right question is where the photo will be used. A white background is for the main image in stores: Amazon, for example, requires a pure white background for the main image, with the product filling about 85% of the frame, and many large stores ask for the same. Coloured backgrounds suit social media and ads because they stop the thumb from scrolling. A real scene shows the product in use, a cup on a breakfast table or a watch on a wrist, and answers "how will it look at my place?"
The shot list for each product
Before the shoot, write down the shots each product needs. The usual list: front, back, a 45-degree angle, close-up details (texture, stitching, buttons), a shot that shows size next to a hand or a familiar object, the packaging, and the product with its packaging. One photo, however good, cannot answer every question a buyer has.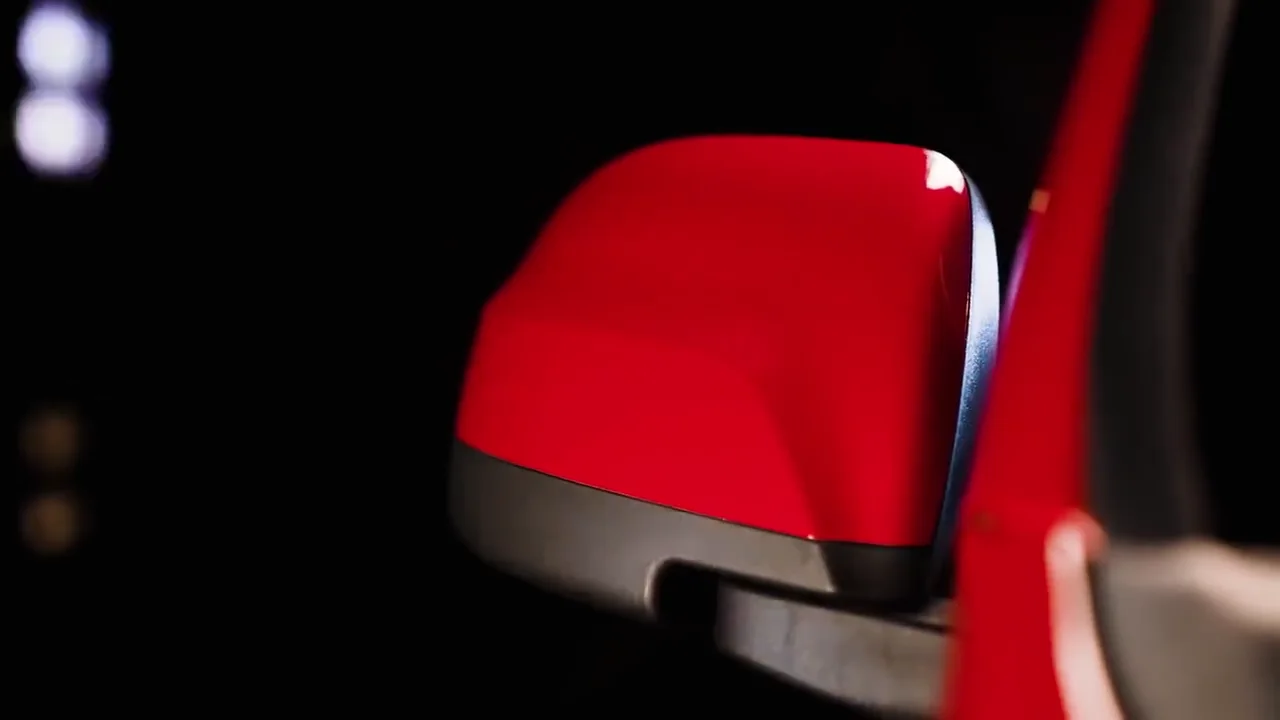
Why a studio and not window light?
Window light changes every hour, so the product's colour shifts between the first photo and the last. In a studio the light stays the same, so red looks red in every photo. That matters, because a colour mismatch between photo and product is one of the most common reasons for returns. Shiny products such as glass, metal and device screens also need precise control of reflections, which only designed lighting gives you. We photographed whole Shineray cars inside the studio on the same logic.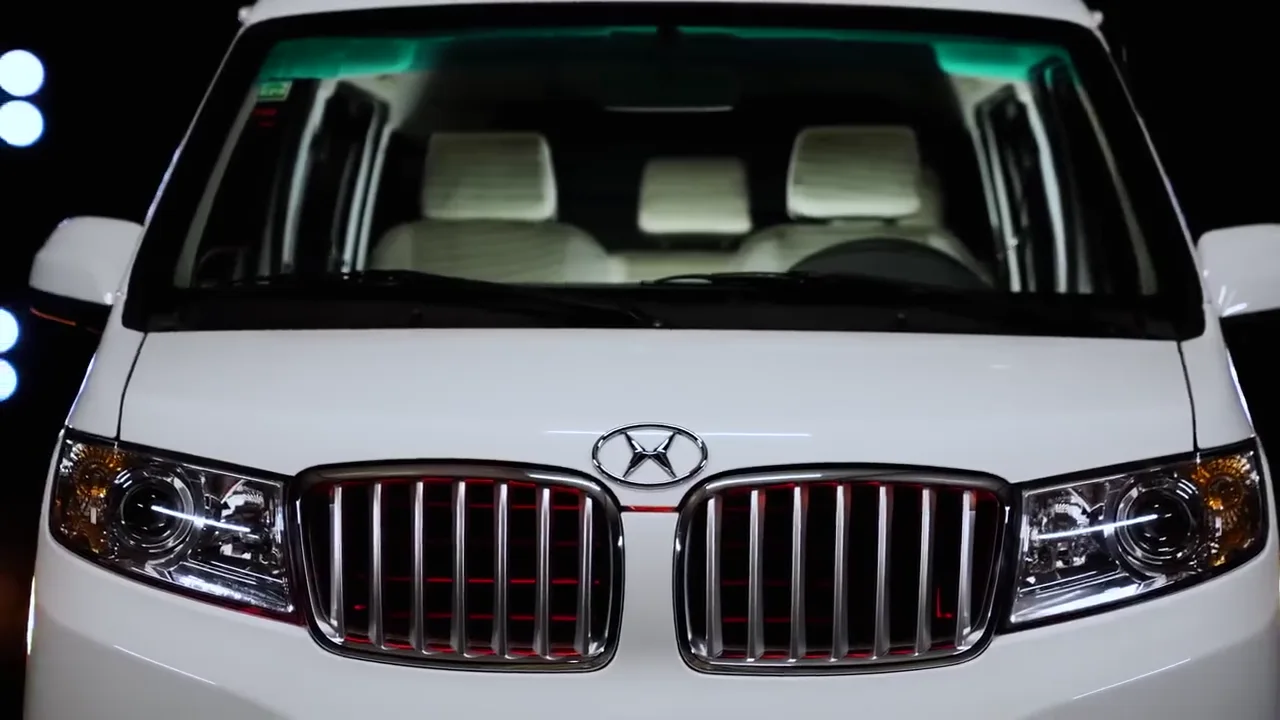
Shoot video in the same session
The product is on the table and the lights are set. Adding short 9:16 video clips in the same session costs far less than a separate video shoot, and gives you Instagram and TikTok content that matches your photos exactly.How to prepare your products
Bring two or three units of each product if you can; a small scratch shows clearly in close-ups. Clean the products, remove temporary stickers, iron fabrics and bring the packaging undamaged. Send a list of products with their names or SKUs in advance, so the files are named that way on delivery and your team saves hours of sorting.How a studio product shoot runs
Before the shoot: we receive the product list and shot list, agree on visual references and backgrounds, and prepare props. Start of the day: the light is set on the first product and a test shot appears on a large screen tethered to the camera, which you or your representative approve before we continue. During the shoot: similar products are shot back to back without changing the light, so images stay consistent and time is saved. After the shoot: you receive a proof gallery to choose from, then retouching begins. Being there, or sending someone from your team, for the first hour saves a lot of revisions; approving the look on the first image is easier than changing a hundred images after delivery.If you decide to shoot with your phone
For small stores starting out, an acceptable result is possible with simple tools if you follow these rules:- Shoot near a large window in daylight, with a thin white curtain to diffuse the light, and switch off the room lights so colours don't mix.
- Put a white foam board opposite the window to bounce light and open the shadows.
- Use a tripod for the phone, and fix the angle and distance for every product.
- Don't use the built-in flash; it flattens the product and creates harsh reflections.
- Turn on the camera grid and centre the product with even space around it.
- Edit all photos with the same settings in an app like Lightroom or Snapseed, and skip ready-made filters.
The short product video: five shots are enough
- The reveal: the product enters the frame or appears from behind a cloth.
- The spin: the product turns on a turntable to be seen from every side.
- In hand: the product in use, in two seconds.
- The details: a slow camera move over the material, a button or the logo.
- The packaging: opening the box and what is inside.
A prep checklist before the shoot
- The product list with codes and colours, in the order you want them in the store.
- The shot list for each product, and which products need a scene or a model.
- Where the photos will be used and the sizes needed for each platform.
- Visual references: photos you like from other brands, and photos you do not want to resemble.
- The brand guide, colours and fonts, if backgrounds will use brand colours.
- Clean, undamaged units of every product, with packaging and accessories.
- The name of the person approving images on your side on shoot day.
From inside the EPH studio: two examples
Product films on coloured backgrounds: in EPH Studios sessions we chose the background colour from the product's own flavour and added the fruit that represents it around the product, so viewers understand the flavour before reading a word. Every product was shot under the same light, so the whole range looks like one family on the store page.
How many products can be shot in one day?
There is no single number. Small, similar products on white can be shot in large numbers because the light does not change. Shiny products, or ones that need a styled scene or a model, take much longer. So we estimate the session from the shot list, not the product count alone, and tell you before booking.Which product photos work in paid ads?
The store photo is not necessarily the ad photo. On Facebook and Instagram, the images that tend to work are the ones that stop the scroll: a strong background colour that contrasts with the platform, the product in someone's hand, or a very close shot of an unexpected detail. For beauty and cleaning products, clear result photos work, as long as they are real. The safest way is to shoot three or four different ad angles in the same session, test them in a small campaign and let the numbers choose.Ecommerce product photography: one consistent set
In an online store, customers compare products side by side, so the photos have to look like one family: the same background, the same light direction, the same angle for the main image, and products sized consistently in the frame. A catalogue shot over several sessions, or by different photographers, often looks uneven, and that makes the whole store feel less trustworthy. The fix is a written style guide from the first shoot: background, angles, crop, shadow or no shadow, and the file sizes each platform needs. Every new product is then shot to the same guide. Check each marketplace's image rules before the shoot. They differ on background, minimum size, text and watermarks, and a photo that breaks them can hold up a listing.In a product photography studio or on location?
A studio gives full control: constant light, clean backgrounds, space for large products and no weather. It suits catalogue work, white-background images and anything that needs to match across many sessions. Shooting on location, in a real kitchen, office, showroom or outdoors, gives context and atmosphere that is hard to build in a studio, and suits lifestyle images for social media and campaigns. Many brands do both: the catalogue in the studio, and a smaller lifestyle set on location. In our New Cairo studio we can also build simple scenes, which covers a lot of lifestyle needs without a location day.Product photos for Instagram and TikTok
Social media needs different product photos from a store. Vertical frames that fill the phone screen, the product in use, hands in the shot, and colours that match the brand's feed. Short clips from the same session work even better: an unboxing, a pour, a texture, the product turning. Plan a few social shots on the shot list so they are not an afterthought.Labels, glass and reflective packaging
Labels have to be readable and straight, which means shooting square to the product and controlling reflections on glossy packaging. Glass and metal reflect everything in the room, so the photographer builds the reflections deliberately with large light panels and black cards. If the label changes often, some brands shoot the pack with a plain label and add the design in retouching; it keeps the photos usable when the packaging is updated.Clothes, shoes and accessories
Fashion products are shot in three main ways: on a model, on a mannequin (often removed in retouching for a "ghost" effect), or laid flat from above. Models show fit and movement and sell best, but cost more and take longer. Flat lays are quick and work well for social media. Whatever you choose, keep it the same across the collection. Steam every piece before the shoot; a creased shirt takes a minute to steam and much longer to fix in retouching. For jewellery and watches, plan macro shots that show the detail and the materials.What sets the price of product photography?
The number of products, the number of final photos per product, the kind of backgrounds and styling, whether models are involved, and the level of retouching: basic colour correction, or cut-outs and detailed cleanup of every image. That is why product photography is usually priced per product or per final photo, and the clearest way is to send your list and get an itemised price.Types of product photos and when to use each
| Type | What it is | Where it is used |
|---|---|---|
| White background | The product alone on pure white | The main image in stores and catalogues |
| Lifestyle scene | The product in use, in its natural place | Social media and the product page after the main image |
| Detail shot | Close-up of texture and details | Products bought on quality: leather, fabric, watches |
| Scale shot | The product next to a hand or familiar object | Any product where buyers ask about size |
| Group shot | Several colours or pieces together | Showing a range or bundles |
| Flat lay | The product and accessories arranged from above | Food, cosmetics and accessories |
| Infographic image | A photo with product features written on it | Large marketplaces, after the main image |
Image sizes for each platform
| Platform | Ratio | Suggested size | Note |
|---|---|---|---|
| Amazon (main image) | Flexible | 1,600 px or more on the longest side | Pure white background, product filling about 85% of the frame |
| Own store (Shopify, Salla, Zid) | 1:1 | 2048 × 2048 px | One size keeps the product grid tidy |
| Instagram post | 4:5 | 1080 × 1350 px | Takes more of the screen than a square |
| Stories and Reels | 9:16 | 1080 × 1920 px | Leave room top and bottom for the app interface |
| Facebook ad | 1:1 or 4:5 | 1080 × 1080 or 1080 × 1350 | Keep text on the image to a minimum |
Difficult products and how they are shot
Glass and shiny metal reflect everything around them, including the camera and the photographer. They are surrounded by large white surfaces or a light tent, and reflections are drawn as deliberate strips of light along the edges instead of random spots. Jewellery and watches need a macro lens and focus stacking, several shots at different focus points merged into one image that is sharp front to back, plus careful cleaning of dust that shows clearly when zoomed. Clothing has three common approaches: on a model, on a mannequin that is removed later so the piece looks filled without a body, or laid flat and shot from above. Iron everything before the shoot; wrinkles cost more in retouching than ironing does. Food is shot fast, at its best, with a stand-in plate used to set the light before the real dish arrives. Steam and a glossy sauce last seconds. Cosmetics need more than the pack: a texture swatch on a surface or on skin answers "what does it feel like?" Devices with screens are usually shot with the screen off, and the interface is placed on it in retouching so it looks clean, without reflections or lines.
Lighting in brief
Most product photos rest on three sources: a key light that shapes the product, a fill light that opens the shadows, and a back light that separates it from the background. More important than the number of lights is keeping the colour temperature constant through the session, and shooting a colour reference card first, so colours can be matched precisely in retouching and the photo matches the real product.What retouching includes
Standard retouching covers colour correction, removing dust and small scratches, cleaning the background, and keeping light and spacing consistent across the catalogue so the product grid looks coherent. It can include cutting the product out and adding a natural shadow underneath so it doesn't look like it is floating. What we do not do is change the product itself: a different colour from the real one, a bigger size, details that are not there. A photo that flatters the product beyond reality sells once, then comes back as a return and a bad review.Delivery and file naming
Ask for JPEG in sRGB for websites and social media, and high-resolution versions for print when needed. Name files by product code then angle, like SKU123_front_01, so your team can upload them without opening each photo to see what it is. A catalogue that arrives organised saves days of work.What about AI-generated backgrounds?
AI tools can place a photographed product into different scenes for social media, and they are useful for trying many ideas quickly. But always start from a good real photo of the product, never let the tool change its shape, material or label, and check the policies of the marketplaces you sell on; the main image has to show the product as the customer will receive it.Product photography FAQ
How many photos does each product need in an online store?
Usually 5 to 7: the main image on white, then angles, details, size and at least one scene of the product in use.Is a phone camera enough for product photos?
For a start and for social media it can be, if the light is good and constant. But the main image in large stores, shiny products, and photos that will be printed or enlarged need a proper camera, lens and lighting.When do we receive the photos?
A proof gallery usually arrives within two working days, then the retouched finals a few days after your selection, depending on the number.What is the best background for product photos?
White for the main image in stores, and a brand colour or a colour that complements the product for ads and social media. Avoid busy backgrounds that compete with the product for attention.Do you shoot products on models?
Yes. We shoot fashion and accessory sessions on models in the studio or on location, and help with casting and styling to match the brand.What is the best software for editing product photos?
Professionally, Adobe Lightroom for colour and Photoshop for cleanup and cut-outs. On a phone, Lightroom Mobile or Snapseed is enough for basic edits, as long as you apply the same settings to every photo.Can products be photographed without sending them to the studio?
Photography needs the product itself in front of the camera. If products are large or numerous, a temporary studio can be set up in your warehouse or showroom with the same equipment.Do you shoot the same product for ecommerce and for ads?
Yes, in the same session when possible: the clean store images first, then styled shots and short videos for ads. It saves setting the product up twice.EPH's production team in Cairo: commercials, events, photo and sound studios. We write here about what we learn on set.


 Shineray X30 — On set
 zed's — Making of the commercial
 Red Bull — Behind the scenes
 Republican People's Party — Iftar build
 Golden Beach Resort — Behind the scenes
 zed's — Recording the ad song
 Shineray — Five locations in one day
 Republican People's Party — Sports final build
 Conference night — The build
 Republican People's Party — Making of the song
 ECSSR — At the stand
 Shineray — Studio setup
 Startup Power — Summit build
 Social media — Studio shoot at EPH
 Republican People's Party — Hurghada Forum
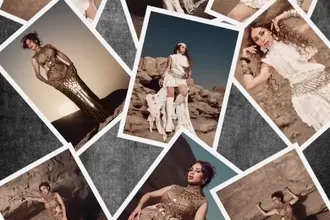 Wadi Degla — Fashion session